Vintage Restoration Tips
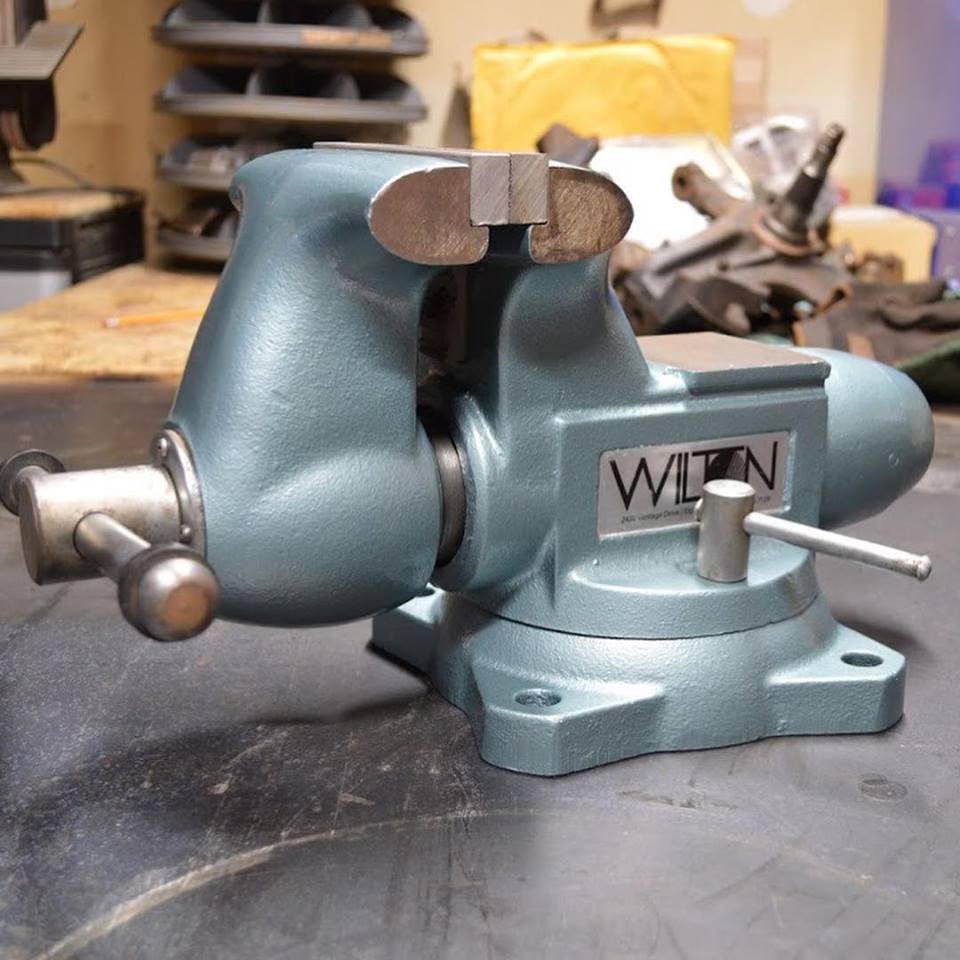
Nothing better than a freshly painted and restored bench vise!
 Let’s face it, most classic bench vises have led a rough life. Paint overspray, wayward hammer blows and a slipped hacksaw blade all have left their mark. If you are collecting vises and enjoy the restoration process
it’s probably worth restoring but if you simply want the vise to use on your workbench, simply wipe it down with some penetrating oil and enjoy using that vintage tool.
This page is not meant to be a complete guide to restoring a bench vise. It’s the way I know how to do it and where possible I will give you alternatives. There is no one right way to restore a vise and you will get many opinions out
there. Try out the different methods and see which one you like the most.
Restore or Not To Restore, that is the question…
 The answer lies with the end use in mind. If you are a collector and 50% or more of the original paint is present, my opinion is to not restore it. If there are 5 layers of paint or the original paint was removed to
repaint, then a restoration is a good idea. If you are not a collector and simply want a vise to throw on your bench and use then the decision is easier. Either restore it or don’t, totally a personal decision as you won’t ruin the
value either way.
If you are not going to restore the vise and simply want to preserve the original paint, follow the tips below.
- Start by disassembling the vise into it’s components. Remove the movable jaw and lead screw. If the vise has a swivel base then remove lock-down handles or nuts and break the vise to the simpliest parts.
- I prefer to put on gloves and start soaking all the parts with penetrating oil. The penetration oil will break down grease and dirt and leave a nice sheen to your vise parts. I am currently using PB Blaster but WD-40 or Liquid
Wrench will do just fine. The idea is to get the dirt and grime off the vise while providing some lubrication and thin film to prevent future rust. Use a rag or even fine scotchbrite pads to get tough stuff off. - Once all the parts are wiped down and clean, lubricate the main screw and slide with your favorite lube (see below) and reassemble.
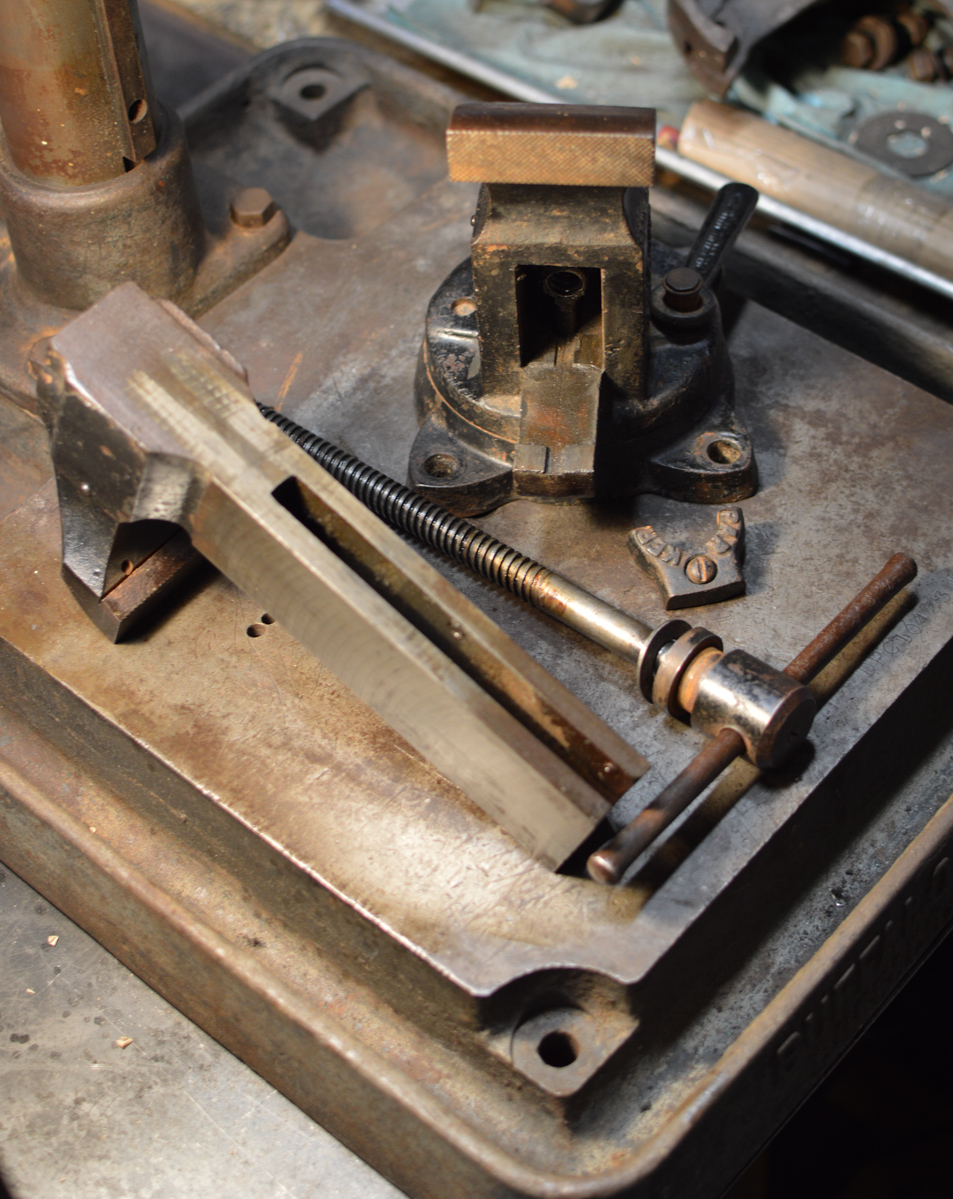
Restoration Step #1 – Disassembly
 You are taking the plunge, congratulations! I have always enjoyed restoring a vise and with some careful preparation you can achieve a better than new finish on your classic vise.
The first step is to take apart the vise into it’s component. Remove the jaws, main screw and swivel base if so equipped. If you run into any stripped bolts, watch the video below…
While vises are fairly simple in design, take pictures if you believe you will be confused upon reassembly. It’s also a good idea to have a small container handy for small parts to keep them from getting lost.
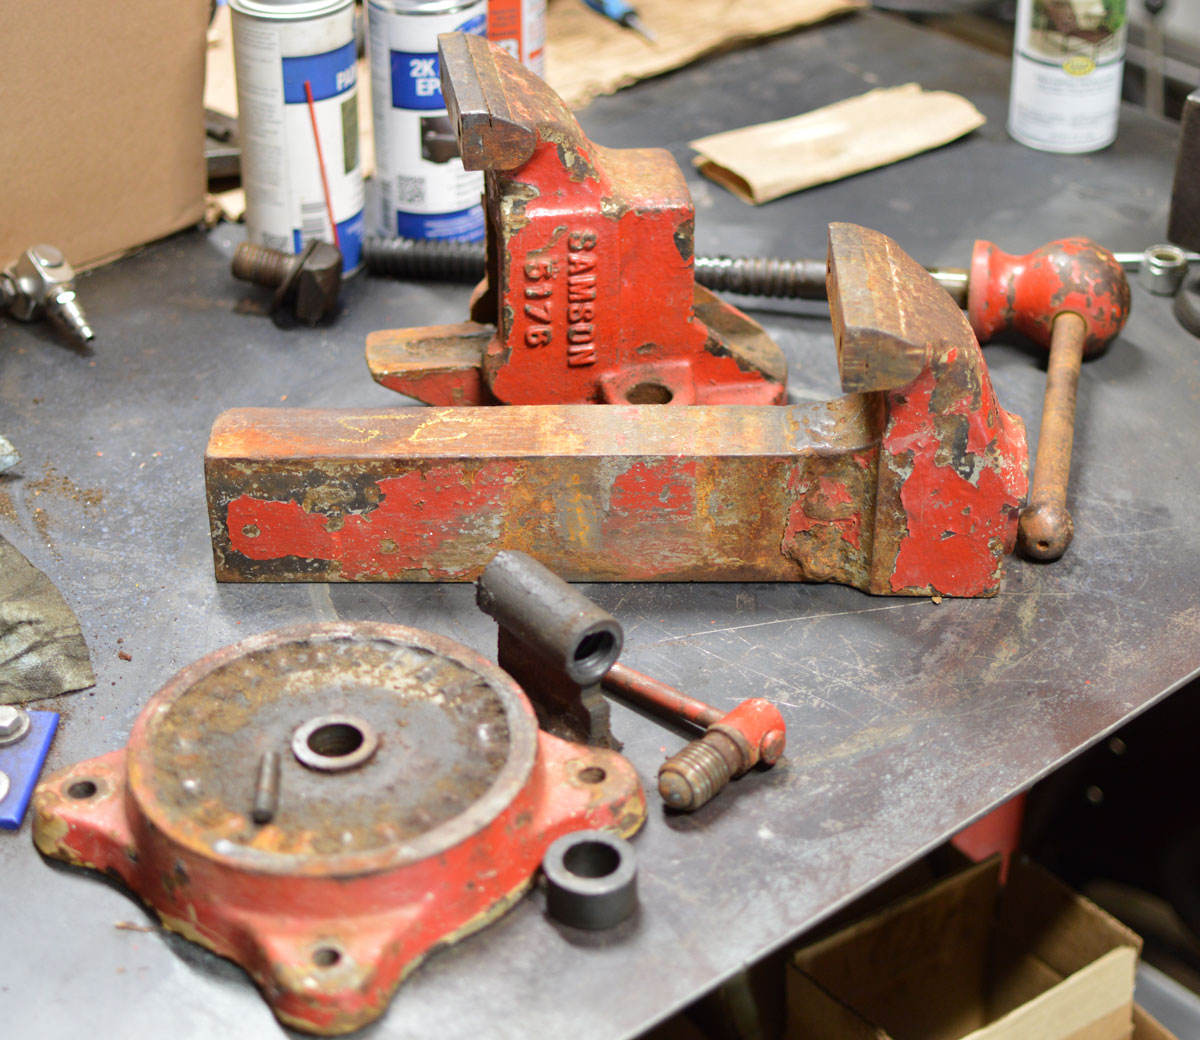
Restoration Step #2 – Clean and remove paint.
Probably the area of greatest contention, how to remove paint and rust! There are a couple of choices and I will detail them below and point out the pros and cons of each.
- Wire Wheel: Probably the most economical way to remove paint, it’s also the most dangerous without the proper safety gear. A hand-held wire brush or a wire wheel mounted on a drill or air tool will make rapid work of most paint,
grease and grime. Always wear safety glasses and a full face shield to prevent slivers of wire from making a home in your eyeball! Also be aware that sharp corners can grab the wire wheel and throw parts or grab the drill out of your
hands. For large vises wire wheeling may be your only viable option. The finish left is a shiny/burnished finish that will hold paint but should be scuffed prior to primer or paint. - Soaking in Simple Green or other water based solvent: A favorite of several vise collectors I know. Simple Green or Purple Power seem to be the most popular water-based solvents used. Get a 5 gallon bucket and soak for 24-48 hours.
No hard work and it’s supposed to remove paint and grime pretty well. Con is the cost as Simple Green can be $10/gallon but it can be reused several time. This method does not alter the base metal and paint may need to be scuffed for
good adhesion. - Media Blasting: My preferred method, but requires a significant investment in equipment. I have an abrasive blast cabinet filled with crushed glass which allows me to clean and prep the surface of the vise for paint. Abrasive
blasting takes a lot of air from your shops air compressor and I would not recommend blasting with anything less than a 3HP compressor. The advantage is the crushed glass leaves a frosted finish which gives a good surface for primer or
paint to adhere to. No scuffing or further prep needed before paint. Cons are cost of equipment, crushed glass can get into tight spots of vise and will be tough to remove, and heavy grease is not easily blasted away so pre-cleaning
may be necessary. - Paint Stripper: If you are dealing with multiple layers of paint, a chemical paint stripper may be needed. There are some nasty chemicals out there that work great buy require caution when applying. Wear gloved and follow all
safety instructions when dealing with these chemical paint strippers. It will not leave a good mechanical surface for primer/paint to stick but may save you time over using a wire wheel when you have a lot of paint to remove.
Restoration Step #3 – Repairs
While a vise is a tool, we all want our tools to look and function their best. Once you have your vise project stripped down it’s time to make some repairs, major or minor.
- Minor repairs: A flap wheel or sanding disc will make quick work of casting imperfections or minor hacksaw marks and scratches. Be careful though, as too much grinding can leave a smoother finish that the base casting and once painted stand out like a sore thumb.
- Major Repairs: I personally do not recommend welding or brazing a vise. I have done one welding job on a vise and it was one I was keeping and throwing on my welding bench. I just don’t want a vise I handled possibly being sold after someone repainted and smoothed out the weld to trick a buyer. If you must make a major repair you have a few options…
- Brazing: The easiest option which does not require the base cast iron to be melted. The issue with Cast Iron during and heat based process is erosion and heat effected zones just outside the repair which leads to cracking. Brazing allows a little more wiggle room as temperatures do not approach that of welding. The brazing material is softer than cast iron and more ductile but done properly will get your vise back in action. Brazing rods are typically an alloy of copper, tin and other metals (Bronze) but silver solder rods will work too.
- Welding: Not for the faint of heart, but welding a vise back together can be done. Nickle rods for stick or TIG welding are available in the market. Preheat, weld prep and slow cool down are all critical for a successful weld. The base metal is the unknown factor. When you put heat to it, it may take filler easily or erode away and make for a difficult weld.
Restoration Step #4 – Paint Prep
Restoration Step #5 – Painting
Quick Tip on Wilton Vise Paint
I have found the best paint to use on Wilton vises is Verde Green from Rustoleum (When it’s in stock)